解决Windows掉在git_bash中不能用clash的情况
如果是MacOS,直接在右上角的Clash选择复制终端代理指令
MacOS复制的指令为: export https_proxy=http://127.0.0.1:7890 http_proxy=http://127.0.0.1:7890 all_proxy=socks5://127.0.0.1:7890
环境
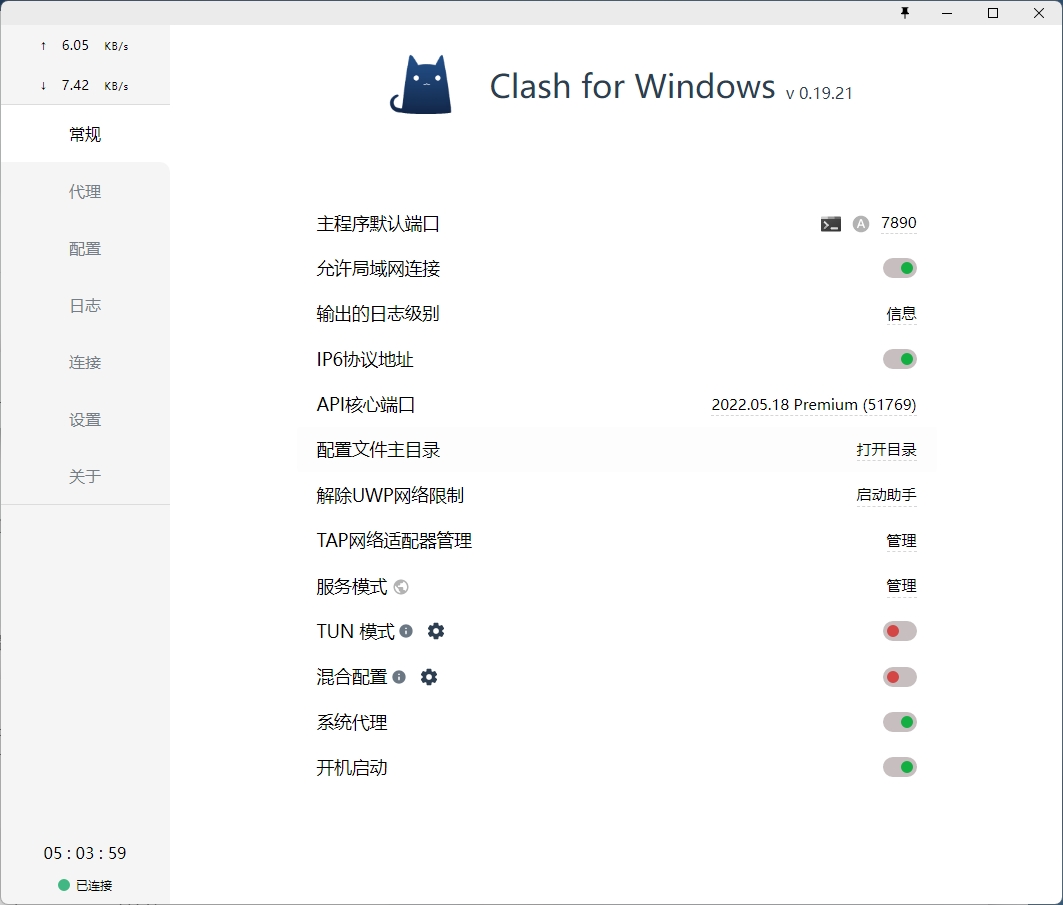
Windows 11, Clash for Windows

这里注意:主程序默认端口为 7890
cmd
1 | set http_proxy=http://127.0.0.1:7890 |
还原命令:
1 | set http_proxy= |
Git Bash
通过设置http_proxy和https_proxy,可以让终端走指定的代理
配置脚本如下,在终端直接执行,只会临时起效:
1 | export http_proxy=http://127.0.0.1:7890 |
7890是http代理对应的端口,和clash中的端口号一致。
便捷脚本
这里提供一个便捷的脚本,里面包含打开、关闭功能:
1 | function proxy_on(){ |
通过proxy_on开启,从proxy_off关闭代理。
接下来需要把脚本写入.bash_profile或者.zprofile这样就可以永久生效。
至于到底是哪个文件,可以根据指令echo $SHELL返回的结果判断:
/bin/bash->.bash_profile/bin/zsh->.zprofile
可以执行安装脚本(追加内容+生效),注意一定根据上面的结果更改.bash_profile:
1 | cat >> ~/.bash_profile << EOF |
打开代理
1 | proxy_on |
关闭代理
1 | proxy_off |
可以执行curl cip.cc进行验证:(clash开全局)
但是使用git clone的时候不需要开全局